A good tutorial can help beginners get more familiar with the fundamentals of photography. Learn the different concepts of exposure, lighting, and focal length. Additionally, you will learn how to compose and make strong photographs. There are tons of tutorials for photography available online. You can browse the Internet to find the best tutorial for you.
Camera Jabber
Camera Jabber online community is great for learning the basics and advancing your photography skills. You can find tutorials, reviews, and a photo collection on the site. The site is both for veterans and beginners, and it teaches how you can get the most from different types of equipment.
There are many other photography resources. However, this blog is especially useful for newcomers. The site offers tutorials as well as buying guides and reviews on the latest gadgets.
Photodoto
Photodoto has a large library of photographs to help you learn the basics of photography. You can also download e-books and articles as free learning resources. Learn how to create the perfect portrait, the history of photography and lighting. Photodoto also provides tutorials on different camera positions.
Cambridge in color
You can learn about color photography by looking at the Cambridge In Color tutorials. These online tutorials, which were launched in 2005, have seen a rapid increase in popularity and are now used daily by more than 20,000 people. Their content has been thoroughly reviewed and edited for print, so you can expect quality instruction and tips.
You can find lots of helpful information on digital photography in the Cambridge In Colour photography tutorials. You will find information on everything from depth, to diffraction, to pixel sizes. These tutorials also discuss the use of Photoshop tools.
Udemy
Udemy offers tutorials in photography on a variety subjects. These tutorials are available for all levels of photography, from beginners to advanced. This course does not require a DSLR camera. In the hundreds of lectures, you'll be able to learn about many different photography techniques.
Online tutorials are available to help you learn composition, camera settings, as well as other basic concepts. This course is great for those who are just starting out in photography. You will also find interactive learning features like discussions and illustrations. You can also view demonstrations and examples of concepts covered in the course to get an idea of how they work.
CreativeLive
The website CreativeLive offers photography tutorials that cover a variety of topics. Courses include lighting concepts, camera operation, and image composition. The site also has writing prompts. CreativeLive was created by Yaseen, a personal trainer and professional writer. The site offers tutorials for photographers that will help them get started.
CreativeLive offers a wide variety of photography classes ranging from nature photography to commercial work. The courses can be customized to suit your needs. Art and design classes are available. You can choose to pursue it as a hobby or a business. CreativeLive can help you learn the basics of digital photography and improve your skills for a living.
FAQ
Cameras available for purchase
There are many online places where you can purchase cameras. B&H Photo Video is a reliable retailer. They are able to assist you with any questions.
B&H ships securely and quickly, so you can get your order delivered right at your door.
This video will explain how to shop for cameras.
Is digital photography hard?
Digital photography isn’t as easy as you may think. It takes time to master the tools. To be able to take different types of shots, you must know what settings are appropriate. Experimenting is the best way of learning. Practice makes perfect.
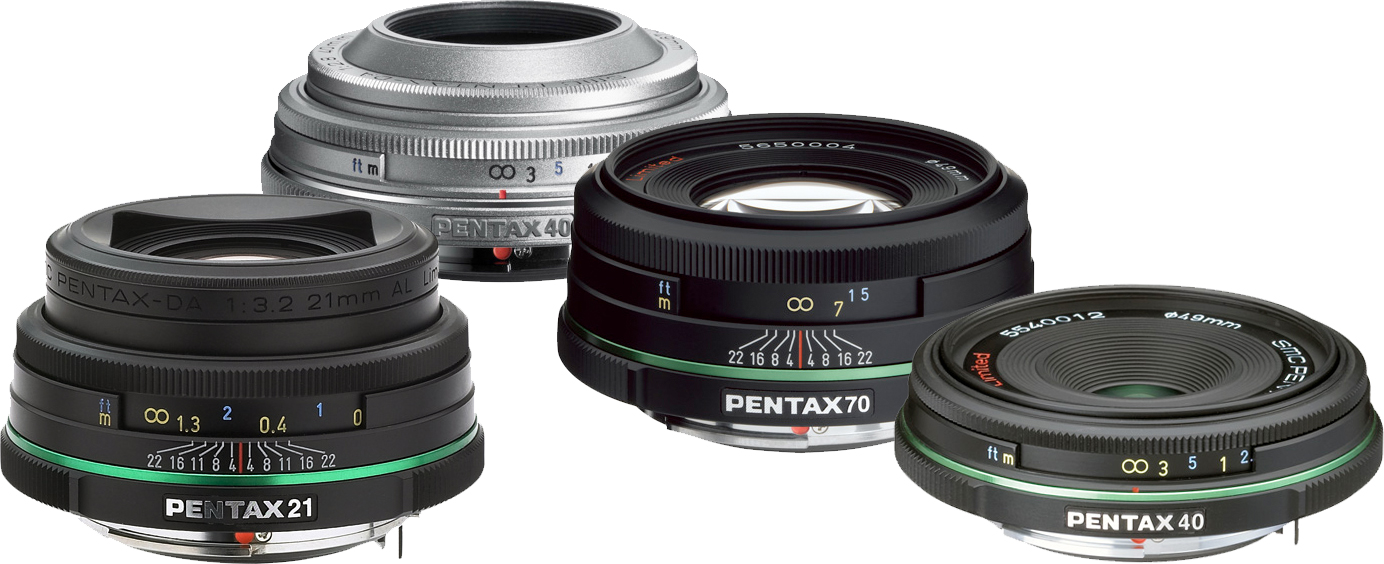
What Lenses Should I Use
The most frequently asked question by beginners is "What lens should i buy?" It's a tough decision since there are so many options available.
The good news is that you don't necessarily need to buy a new lens every time you purchase a new camera. You can simply add lenses later.
Here are three types you might be interested in.
-
Wide Angle Lens (14mm-24mm): These lenses have a wide view angle that will allow you to capture more of your subject. You can also zoom in without losing image quality.
-
Standard/Normal Zoom Lens (28mm – 70mm): These lenses allow for you to adjust focal lengths and maintain image quality.
-
Telephoto Zoom Lens (70mm–200mm) : These lenses are ideal for photographing distant subjects. These lenses allow you stay focused on your subject even when they appear small.
These lenses can be combined to create different effects. For example, you could use a normal lens to shoot close-up details and switch to a telephoto lens to capture far away objects.
Light Room is an excellent tool to enhance your images.
Start early to get the best photos possible for your project. It's better if you take as many shots possible before you decide on the ones that give the most value.
Lightroom allows you to do this by letting you see how different settings affect each photo. You can adjust these settings instantly without returning to Photoshop. This lets you quickly experiment with what looks great and what doesn't.
What camera is best for beginners and what are the pros and cons?
The best camera to use for beginners is dependent on your needs, budget, and skill level.
If you are looking to save money, then a point and shoot digital camera might be the best option. These cameras offer good quality but aren't very versatile.
The Digital Single Lens Reflex (Digital DSLR) camera allows you to interchange lenses, allowing you to take different kinds of photos. These cameras are generally more expensive that point-and clicks, but provide greater flexibility.
A beginner's kit is the best place to begin if you are new to photography. The package includes everything you need: a camera, lens, memory cards, tripod, flash and a camera body.
Don't forget to buy extra batteries too!
Statistics
- By March 2014, about 3 million were purchased monthly, about 30 percent of the peak sales total. (en.wikipedia.org)
- The second easiest way to get blurry photos 100% of the time is to use a cheap filter on the front of your lens. (photographylife.com)
- While I cannot prove that all of those spots were not sensor dust, the photo was taken during a heavy snowstorm…so I guess that 99.8% of the spots are snowflakes. (bhphotovideo.com)
- That's the easiest way to get blurry photos 100% of the time. (photographylife.com)
External Links
How To
How to photograph in low light conditions
Low-light photography is the art of taking photographs in dark or dimly lit environments. It requires special equipment. The main challenges include controlling exposure, white balance, and sharpness. There are two types of low light photography: flash and ambient. Flash photography works well when there is sufficient light around you. A flash is required if there isn’t enough light. Without a flash, it is possible to get a poor picture if the subject is indoors and not outdoors. You can also shoot at night when the moon is shining. You will get beautiful shadows and colors. Another option is shooting at twilight. Twilight is when the sun sets but there's still daylight.
Also, you might want to try long exposures. Long exposures enable you to take images even after your shutter has been open for several seconds. If the shutter is closed, the camera records only the light that falls onto the sensor. This light continues to fall onto a photo sensor throughout a prolonged exposure. The shutter was not opened, so no new light entered the lens. Therefore, there is very little movement. To ensure a clear image, you should turn off all automatic settings such autofocus or exposure. Make sure to adjust the ISO setting before starting to shoot. An ISO setting of 200 gives you more flexibility to control how bright or dark your image looks. The shutter button should be pressed quickly when you are ready to take the photo. The shutter will close completely. Keep the shutter button pressed down until the last second. By holding down the shutter button, you prevent additional light from entering the camera. Once you have taken the image, wait for a few seconds before you release it. This allows your camera to process the picture. While the image is processing, you can see your photos on your computer monitor. Once you are satisfied with the photos, save them onto your computer.